
Deadwood is a twin-stick, top-down shooter where you control a large stone golem and a brave wood-ling as they shoot and smash their way through hordes of Deadwood.
Role: Level & Combat Encounter Designer
Team: Steamroller Studios
Engine: Unity
Responsibilities
I worked on 9 of the game's 17 levels — Meadbud (tutorial), Cedar Woods, Cedar Hills, Cedar Bog, Cedar Swamp, Balkborough Mountains, The Bleeding Lake, Deadwood Forest, and Dust Angel's Rebuke — spanning from the game's opening tutorial through one of its late, climactic levels:
-
Implemented combat encounters and pacing within level layouts that were already locked before I joined
-
Scripted elimination, defense, and story-based/dialogue-triggered objectives
-
Optimize encounter design for performance by scripting spawn and de-spawn logic across all levels
-
Coordinated with QA on bug documentation and level stability through live playtests
-
Dressed large outdoor environments using prefab-based set dressing to cover map scale efficiently
Combat Encounter Design
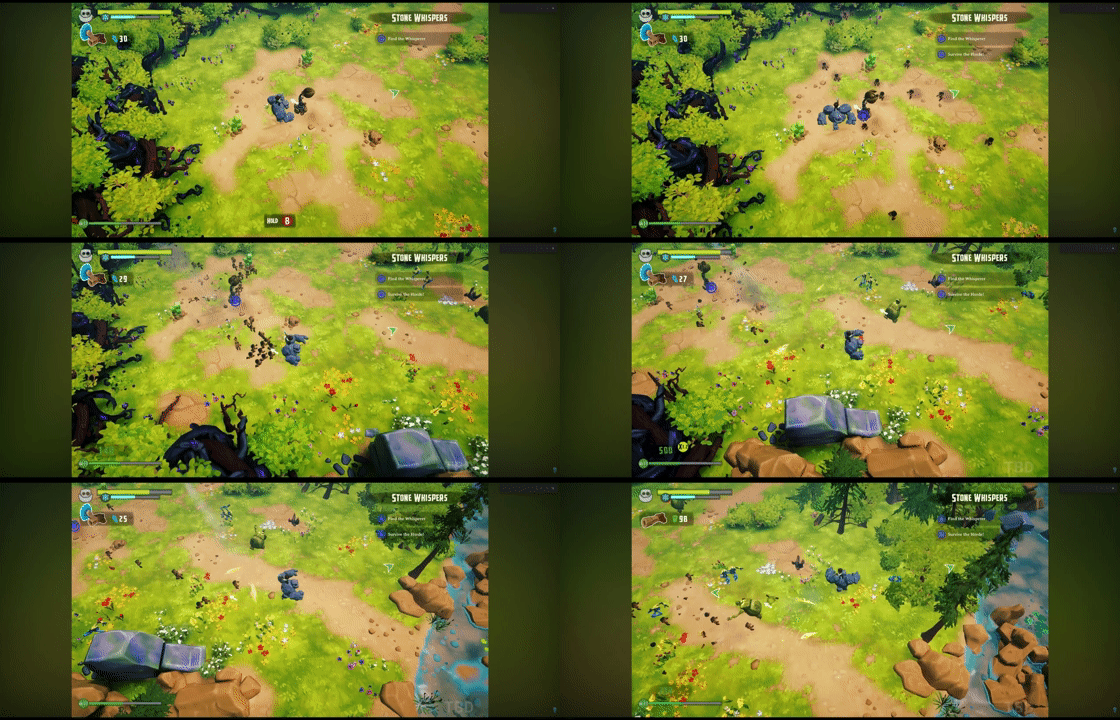
Example: "Sandovale Flower" triggered ambush at Cedar Woods
Curse of the Deadwood was the first project in which I designed combat encounters specifically. The scale, layouts, story beats, and landmarks across the levels were all locked in when I got there, and my role was to perform combat passes and mission-based scripting. Soon after I joined Steamroller, during a game playtest of the levels I inherited from the previous level designer, my project lead and QA played identified a problem: combat encounters felt "muddy" and the current combat passes on the levels lacked coherence. Enemies were spawning chaotically and encounters in different areas felt too alike, with no system tying an encounter together.
I made a plan to fix that — my biggest contribution to this project was building an encounter design framework applied to all the levels I worked on. Here are the framework's main attributes:
-
Hard numbers (Deadwood spawn ratios and combination tuned by difficulty)
-
Deliberate combat pacing:
-
Frequency of encounters throughout level
-
Intensity: enemy numbers, combinations, spawn rate, & difficulty tiers
-
Duration: timed encounters composed of multiple waves
-
-
Modular spawn placement: Deadwood spawners spread tactically atop terrain/layout to simulate to their ambushes against the player according to military field movements.
The sheet below was my numerical approach to encounter design as a mean to solve the absence of a coherent encounter design framework.
-
Baseline Ratios: The core math behind combat — how many of each Deadwood enemy type spawn relative to a baseline unit (Sprouts), so difficulty scales predictably as encounters escalate.
-
Ranges per Spawner: The upper limit for each Deadwood type at a single spawn point — keeps any one spawner from dumping too much of one threat on the player at once.
-
Combinations: Specific enemy pairings I designed on purpose — ex. a fast, fragile enemy grouped with a tougher one so they cover each other's weaknesses instead of just adding more enemies to the fight.
Hard Numbers
At the goal of the framework is to rely on enemy ratio math — spawn composition and ranges tuned by difficulty, down to specifics like one ranged attacker for every ten horde enemies — so every encounter stays balanced as the game escalates, instead of trying to guess at what ratios to use per combat encounter.
Enemy Combinations
These are some examples of combinations I placed in my levels:
-
Sprouts, Knots, Splinters — Sprouts swarm and close distance to the player fast, while Knots form a moving body-shield in front Splinters, who holds range and never approaches. See below for example:
Encounter example: double-pincer ambush at Cedar Woods

A) Initial wave of fodder 20-25 "Sprouts" spawned mid-range from the trigger distract the player
B) After a timed delay, secondary enemy wave catches up to do heavier damage
Meat shields (Knots) supporting ranged enemies (Splinters)
The player
-
Turrets and Tentacles — a turret is stationary and covers mid-to-long range but has no answer up close; a tentacle covers that same short-range 360° gap with melee but can't reach out. Notice below how I complement enemy placement in Cedar Woods, holding down a choke point:

Encounter example: hammer & anvil ambush at Cedar Woods
Apply Military Formations to Enemy Spawning

Why use military formations?
When I looked at the ways spawn points were arranged on the terrain in the Unity editor, to me it looked like the way enemy troops occupy space on a battle map, so that's how I got the idea to apply military formations to the way I designed encounters. In applying formations to the combat encounters, one of my goals is to speed up combat passes across my levels by employing a variety of different ambush-types. My other goal was to create distinctive ways to spawn enemies and to shape the player's emotional journey across combats:
-
Emotional states at triggered by combat: isolated, pressed, chased, stalked
-
Emotional states by end of combat: relieved, survived, triumphant, hardened
The math for enemy ratios and combinations needed a spatial language to actually land in a level, which is where the military formation framing came in: since Deadwood plays entirely from a top-down camera, troop-formation logic reads the same way it does on an actual military map, so I organized the spread and placement of enemy spawn points according to real-world field tactics. This modular approach to combat design features different ways of applying the combat math in 3D space atop level layouts that were already locked.
What follows are only some of the tactics I employed.
Encirclement
According to Wikipedia:
-
Encirclement is a military term for the situation when a force or target is isolated and surrounded by enemy forces.[1] The situation is highly dangerous for the encircled force. At the strategic level, it cannot receive supplies or reinforcements, and on the tactical level, the units in the force can be subject to an attack from several sides. Lastly, since the force cannot retreat, unless it is relieved or can break out, it must fight to the death or surrender.

Why did I implement encirclement in my levels?
-
To make push the player to survive in a sudden spike of gameplay difficulty
-
To teach the player a recurring pattern across the game about how enemy hordes spawn and prompt them to be cautious of open spaces and enticing objects
-
To create coherent ambushes and tense combat encounters centered around a specific location, such as defense objectives, loot, and upgrades
-
To organize how and where enemies spawn
Encirclement is meant to make the player feel suddenly exposed and without a safe direction to fall back to — forcing a fast tactical read rather than a slow, building dread. In the example below, if the player explores beyond the golden path and comes across this object, it will trigger successive waves of enemies. Sprouts spawn closest while ranged and aerial support assist from the periphery:

Triggerable object
Sprouts
Sprouts
Sprouts
Sprouts
Splinters
Flyers
Flyers
Splinters
Flyers
Enemies spawn from all directions after player interacts with object
Here's how I went about implementing enemy encirclements around the player:
-
Assess whether terrain and layout can support two waves of enemies approaching at the player from multiple directions and cutoff escape.
-
Center the ambush around a distinct object or location.
-
Spread spawners around and script their trigger logic (such as interactables or trigger volumes placed in specific spots).
-
Balance the enemy ratios according to difficulty curve appropriate for a given part of the game.
-
Script logic to terminate waves if player breaks out of encirclement and leaves area.
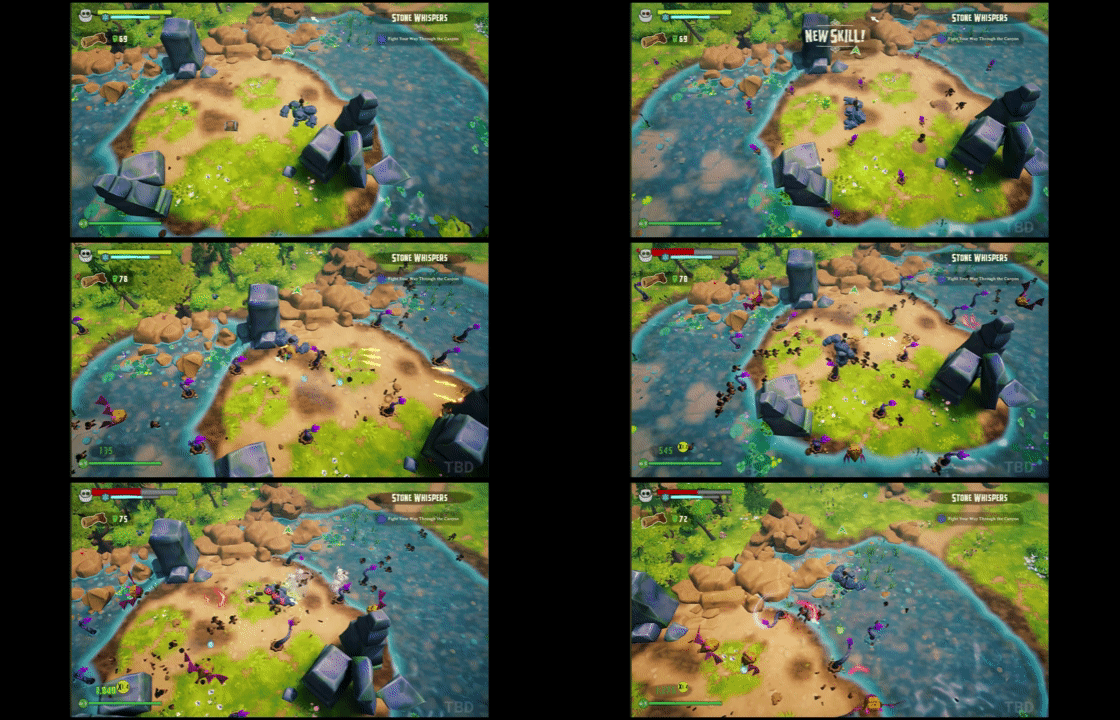
Although the example below is a different level than the image above, the result is the same: the player is suddenly encircled by a large amount of enemies:
Pincer Movement
In contrast to encirclements which feature enemies coming from all directions, pincer attacks come at the player from two opposite fronts. According to Wikipedia:
-
A full pincer movement leads to the attacking army facing the enemy in front, on both flanks, and in the rear.
-
If attacking pincers link up in the enemy's rear, the enemy is encircled. Such battles often end in surrender or destruction of the enemy force, but the encircled force can try to break out.
-
They (the enemy) can attack the encirclement from the inside to escape...

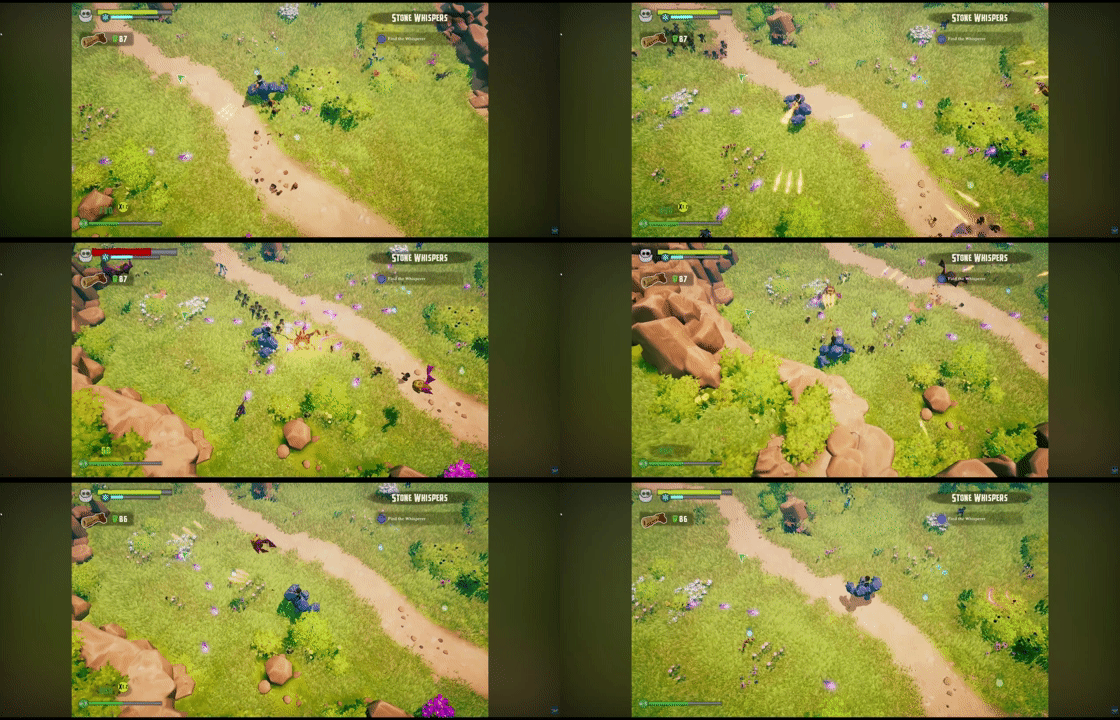
Pincer: meant to make the player feel physically squeezed rather than surrounded — caught between two closing fronts with no lateral escape, forcing a committed push through one side rather than a search for an open direction.In the example below from the level "Cedar Wharf", the player has to get across narrow walkways without falling into water. When the player reaches a certain point along the walkways, they'll trigger two waves of enemies coming from oppositive directions.

Player Path
Main Enemy Movement
Main Enemy Movement
ranged enemies
ranged enemies
Why did I implement pincer movement in my levels?
-
Some levels have spaces along the "golden path" where there's cliffs or pitfalls running parallel to that path that restrict the players movements, allowing for two fronts of Deadwood enemies to "pinch" the player between two oncoming hordes.
-
Pincer movements prompt the player to think quick and outmaneuver rapidly approaching enemy movements, leading to intense spikes in combat pacing, especially in more linear, narrower parts of the levels.
-
These movements serve to keep the player on their toes and not simply bulldoze their way through the level.
To implement a pincer movement formation I had to:
-
Assess whether terrain can support two waves of enemies approaching at the player from two opposite directions (such as east and west, while the north and south are enclosed by boundaries).
-
Add a trigger volume at a spot where the player can be trapped by geometry or pitfalls on one side, and enemies on the other sides.
-
Add enemy spawners some distance from the narrow sides of the trigger.
-
Once the player walks into the trigger volume, enemies will spawn, forming a wall on either side of the player, thus creating a pincer where the player has to fight their way out.

Enemy Spawners
Enemy Spawners
Combat Trigger
Enemy Spawners
Enemy Spawners
Player Path
Result:
Hammer & Anvil

According to Wikipedia:
"The hammer and anvil is a military tactic involving the use of two primary forces, one to pin down an enemy, and the other to smash or defeat the opponent with an encirclement maneuver. It may involve a frontal assault by one part of the force, playing a slower-moving or more static role."
Why did I implement hammer and anvil formations in my levels?
-
To create additional varieties of ambushes against the player
-
To utilize chokepoints effectively where possible throughout the levels
-
To harness stationary enemies at chokepoints to deny backtracking to the player
Here's how I implement a hammer and anvil ambush:
-
Create or find a chokepoint in the level.
-
Add a trigger volume at a spot somewhat ahead of the chokepoint, along the level's critical path.
-
At the chokepoint, add stationary enemies (the anvil) that guard the chokepoint and punish the player if they get too close.
-
A few paces beyond the trigger volume, add spawners comprising a mobile cluster of enemies (the hammer) that will push forward, trapping the player.

Stationary melee enemies sealing chokepoint
Mobile Enemies
The Player
Hammer and Anvil: meant to make the player feel cornered against something immovable rather than surrounded or squeezed — pinned against a static line (the anvil) while a second force closes in from behind (the hammer), so retreat isn't just risky, it's blocked outright.
Result
In the example below from the level "Cedar Woods", the player first encounters an array of turrets barring the way, which are simple enough to dispatch via melee combat except when the player enters the trigger zone, it spawns a host of tentacles that protecs the turrets AND bar the player's path. Simultaneously, the trigger also spawns an oncoming wall of mobile Deadwood composed of Knots, Splinters, and a handful of explosive Thorns, holding the player between a "rock and a hard place" and prompting them to choose how they will address the situation.
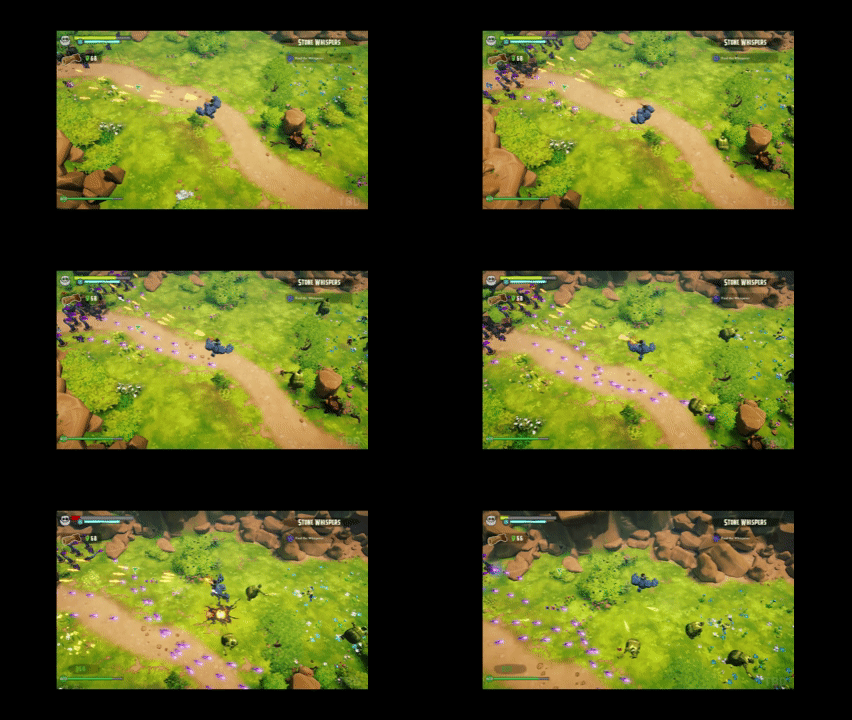
Ambush at Cedar Woods